4 Tips With Video Montage Maker

In this article, we give you 4 tips on how to use a video montage maker in your company, to help you become a video expert.
Do you want to create videos for your seminars and other events? Then, you must already know that your message should be well-crafted to reach your marketing and promotional goals. And that’s where a good video montage intervenes.
Indeed, video montage will enable you to control your message while making it attractive and engaging. However, if you are not used to unlocking your creativity daily, this can be challenging. And this is especially true for beginners.
Fortunately, you shouldn’t be weary not to reach your goals. With the right video montage maker, you will create magic and special effects with your montage! All you need to do is to follow the specific tips described below.
What is a video montage?

A video montage is a series of images, photos, or shots edited to create a sequence. Thus, they help you to convey larger information within a shorter time slot. A video montage is very important to craft the storytelling of a video. In a few words, a video montage is a digital collage made with more creativity!
Indeed, for businesses, it helps to create a condensed and visually appealing representation of an event or topic. Thus, you will be able to send the main message you want to your audience with a well-crafted video montage.
4 important tips to make a successful video montage

Making an amazing video montage should not be that complicated. With the right video montage maker, you can convey the right message you want while unceasing your creativity! Here are the four main tips you need to apply for a successful video montage.
Tip #1: Planning and Pre-production
Without careful planning, chances are that your video will fail as well. Consequently, you must choose your video idea and start working around it. Do you want to create ads, a photo montage, or other promotional clips?
Whatever the video concept you choose, you must have a clear perspective of your message and what you want to convey. Thus, your initial video concept will drive the entire production process and influence your montage as well. Indeed, you’ll know what kind of message you want to convey to your audience.
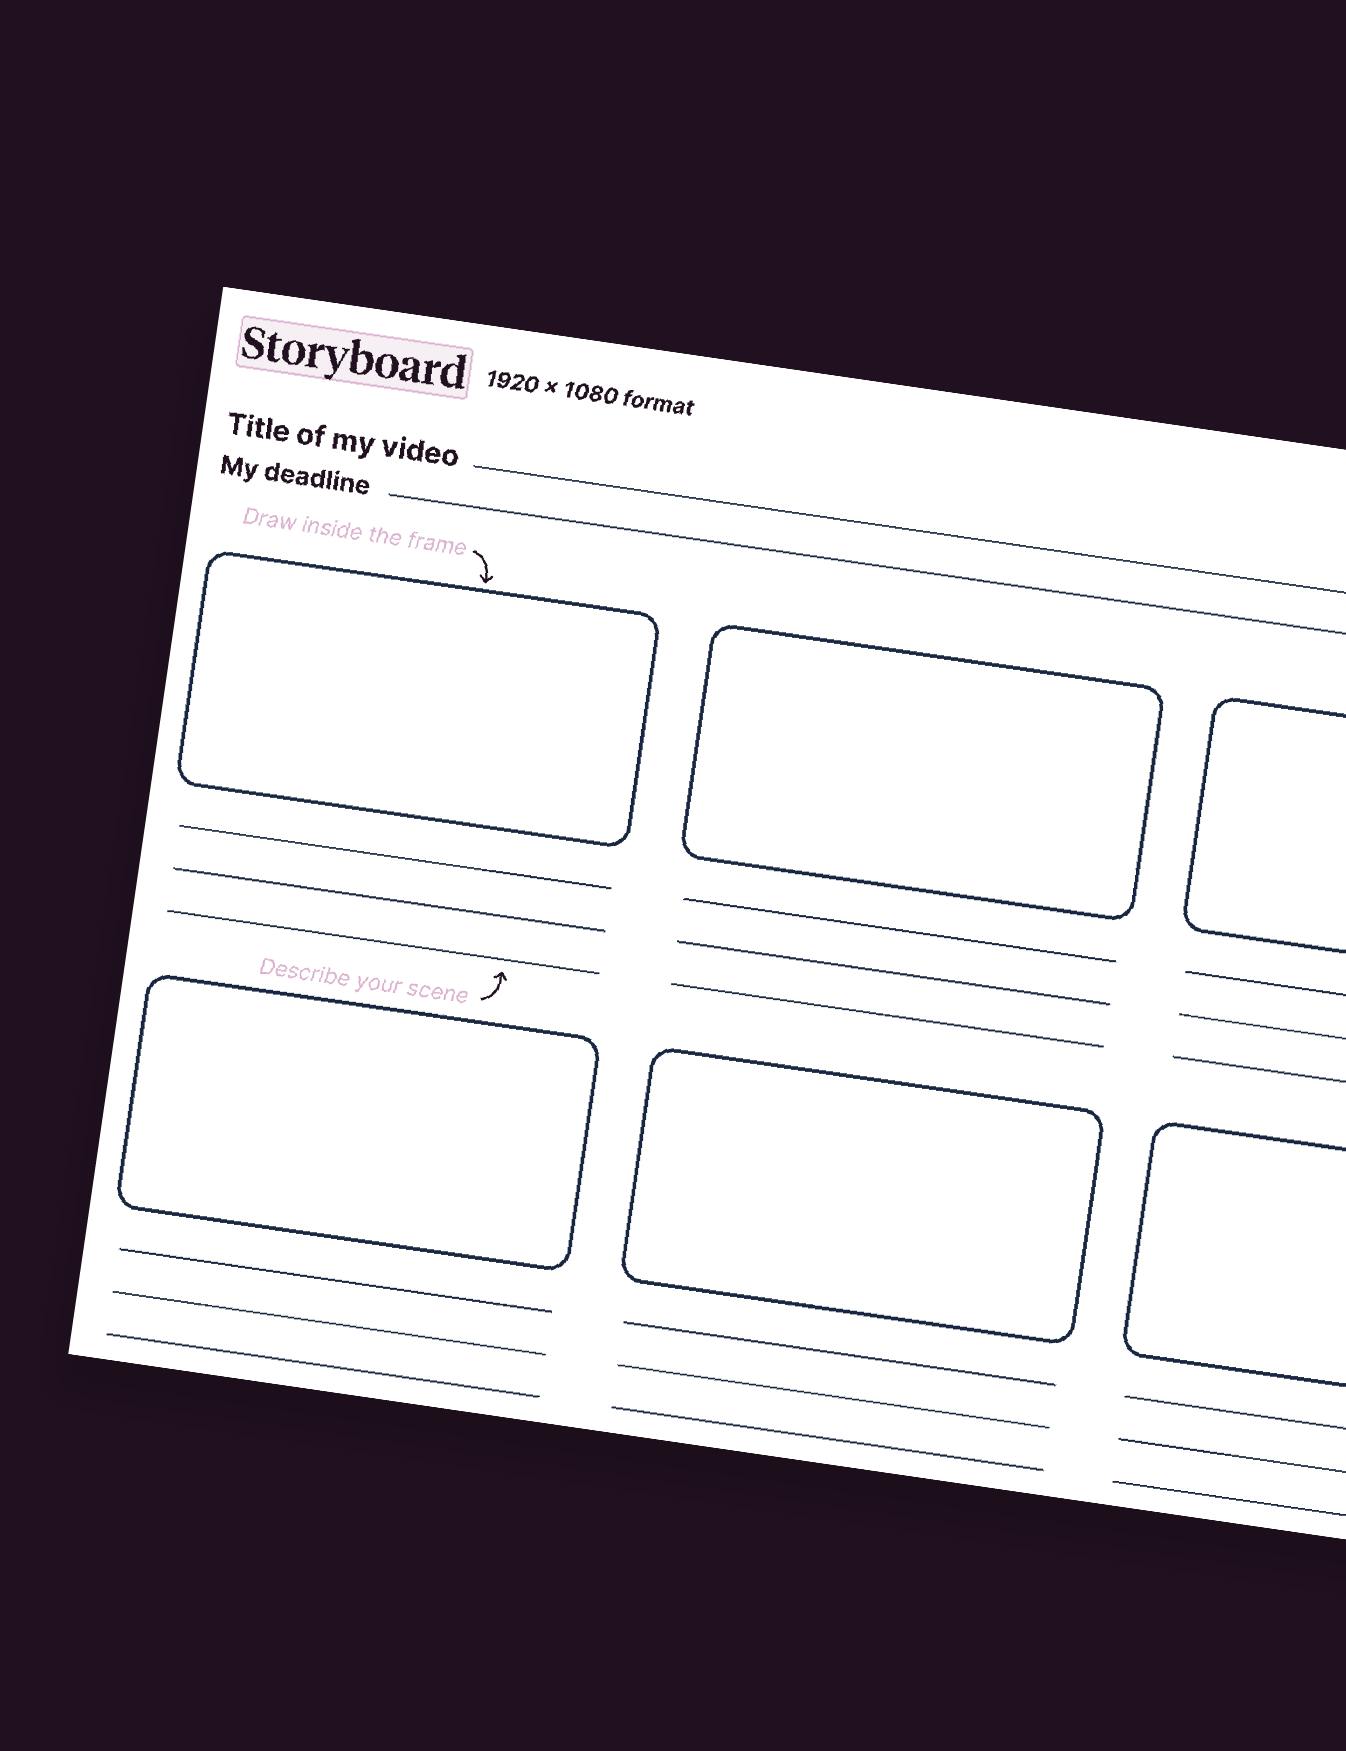
First, you can plan for success with storyboarding. This process is extremely valuable because it will enable you to plan your shots and sequences in advance with simple drawings and text bullets. Also, it helps you craft a story from the beginning to the end without hassles.
Second, you must gather and organize the different video clips, photos, and other assets that will be useful for the video montage. Then, you must organize them to put your future video in order. Indeed, just like good housekeeping, file management is very important to use your video clips, your photos, your audio files, and other assets effectively. Indeed, good file management enables you to:
- Help you recall what assets you have
- Find your files more easily
- Create a proper timeline for your video by arranging your audio and video assets in chronological order
- Store your footage more efficiently.
Tip #2: Selecting Appropriate Footage
Once you have gathered and organized all the assets you need, you can start selecting the appropriate footage for your video montage.
Selecting the right footage is very important because images are very powerful in a video montage. If you want to feed impactful information to your audience, you must choose the right sequences that align with your values and your brand. Therefore, don’t hesitate to identify the relevant filmed sequences and photos that you have on your camera and/or your smartphone for a maximal effect.
In addition, if you use third-party content for your video, ensure that it’s royalty-free to avoid copywriting breaches and potential lawsuits. Many online montage makers like Pitchy have a library of royalty-free images, photos, and assets to help you create the content you need.
Finally, don’t skimp on the quality and the resolution of the images, photos, and assets you choose. According to a survey carried out by Techsmith, poor quality is one of the reasons why people might skip watching your video. Consequently, you must pay attention to the quality and resolution of your video and photos. We recommend at least a Full HD resolution for your assets (1920×1080 pixels).
Tip #3: Editing Techniques
Video editing is very important because it will help you make your video montage visually attractive and engaging. That’s why you must choose the right video editor for this step. A good software has several features such as adding music, motion titles, and transitions. Moreover, it must enable you to cut, combine, or frame several assets together. Here are some steps to edit your video and obtain the high-quality video montage you want.
Transition effects
There are several types of transitions: the wipe, the dissolve, and the split-cut. All these transitions are extremely important because they create a consistent narrative in your video. Also, they help you structure the video from the first shot to the last. To be effective, you must choose a video editor that enables you to make seamless transitions. Thus, your video montage will seem effortless.
Timing

The timing and rhythm of your video can have a tremendous effect on your viewers’ emotions. For instance, quick pacing can increase the dramatic side of a scene. On the contrary, standard pacing brings peace to the viewers. Consequently, it is very important that you pay attention to the tone of your video. Thus, you will be able to build the appropriate rhythm to convey the emotions you want.
Color grading
A good video montage involves having living videos. Your videos shouldn’t look dull! That’s why color correction and grading will help bring more color saturation in your videos and add more flavor to them. Moreover, you may use visual effects and watermarks to add style and creativity to your video montage.
Text and captions
Using text overlays, motion titles, and graphics are a great way to enhance your video without dialogues. Indeed, they convey lots of information while remaining entertaining as well.
Tip #4: Audio Selection and Editing

A song is the best accessory to convey the proper emotion to your audience. Indeed, syncing the visual action with music helps create a more immersive experience for the viewers. This technique was already used in the cinema industry, especially with silent movies.
Therefore, adding the right soundtrack to your video creates an entire new dimension into it because it multiplies the emotions you convey. Thus, we advise you to choose music that aligns with the emotions contained in your video. Rock, hip hop, or electro: the choice is yours!
However, if you don’t know what kind of music you must choose, don’t hesitate to rely on the library of royalty-free music offered by your online video editor.
Finally, to enhance the quality of your montage, don’t forget to adjust the audio levels of your video for balance. We recommend you sit between -24dB and -8dB. If your video includes dialogues, aim between -18dB and -9dB. However, if you include music in your video, your audio setting should be between -22dB and -18dB.
Ready to implement your first video montage? Contact Pitchy!

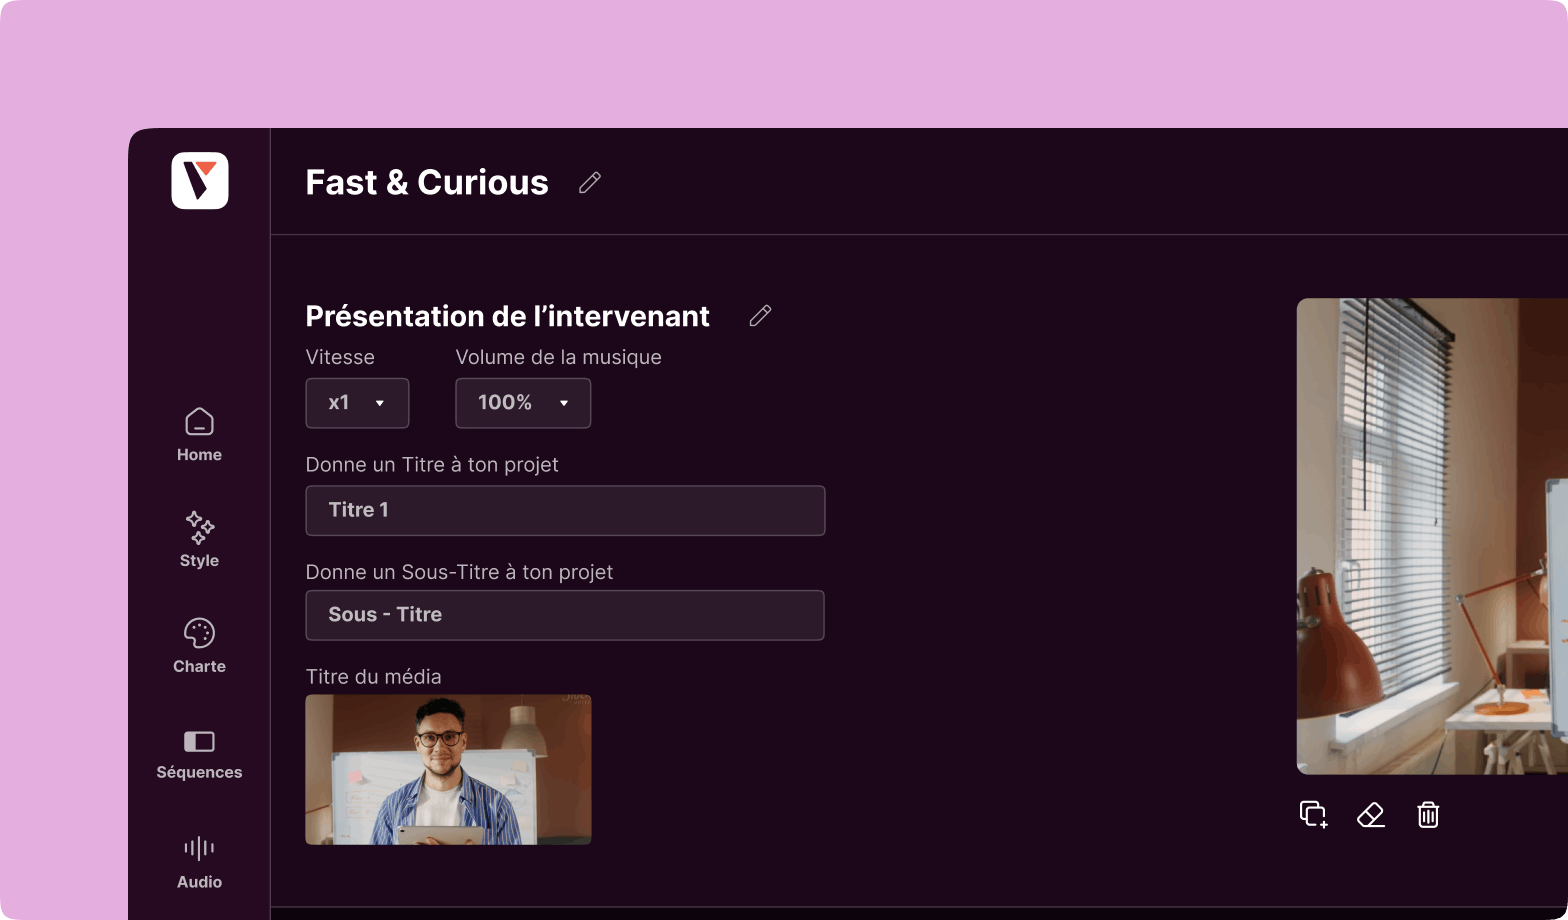
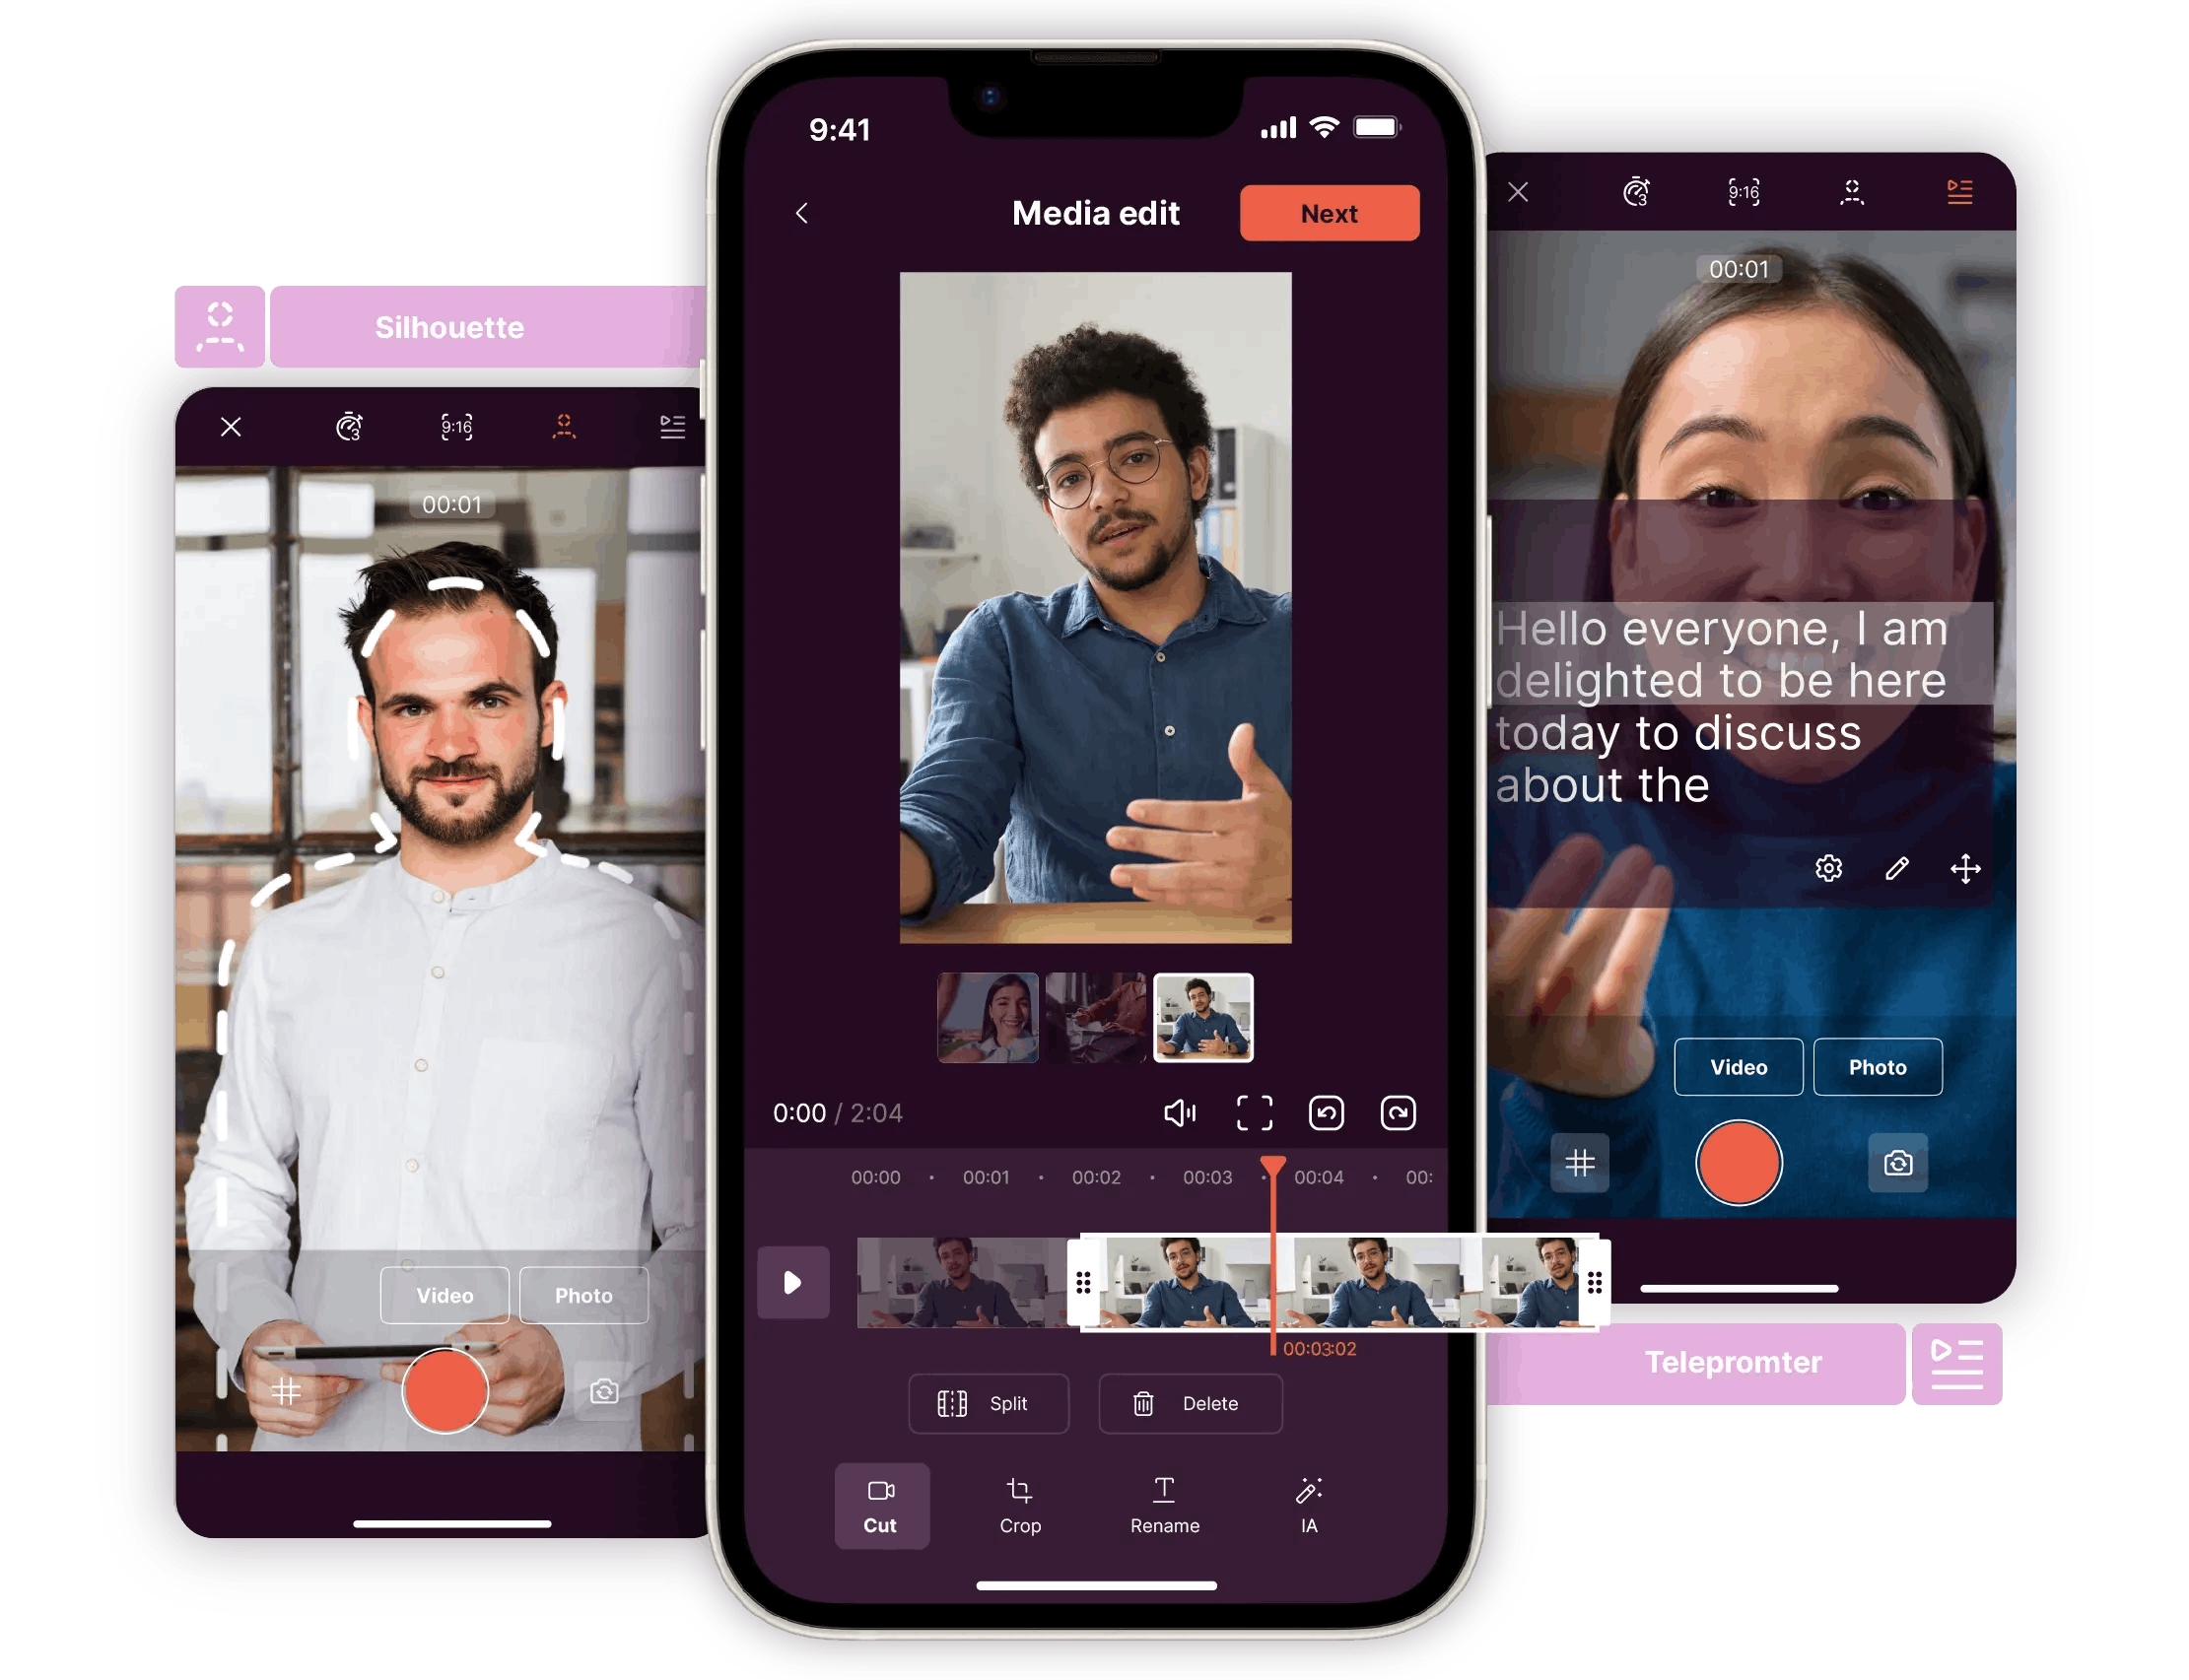
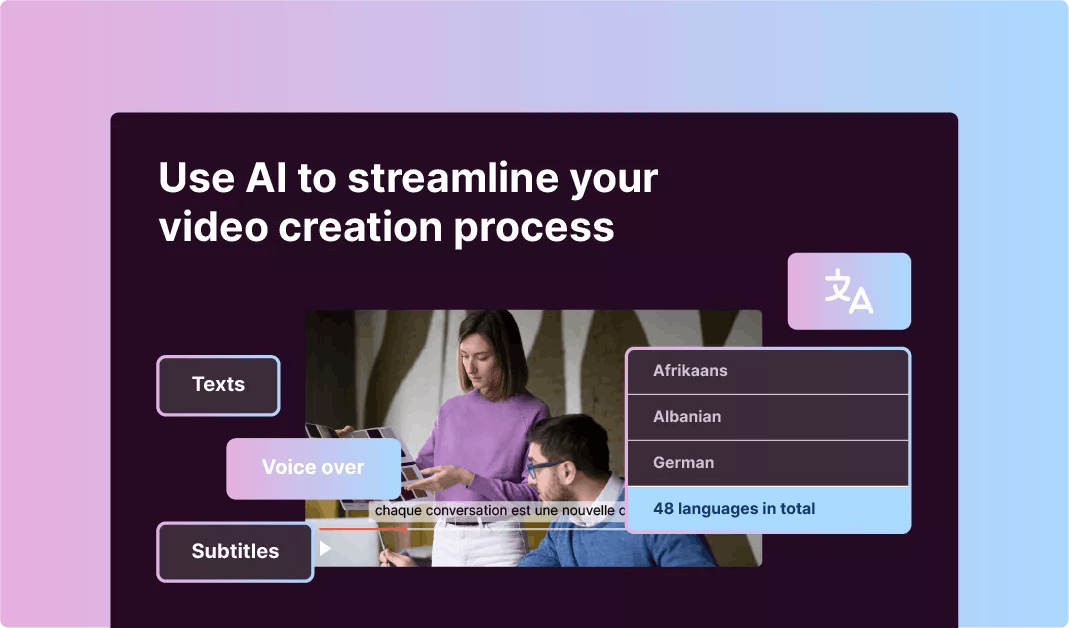
Do you want to create amazing video montages for your corporate videos? Then, Pitchy is the software you need to reach your creative goals. Our video montage maker offers you video templates and key features to help you create outstanding videos to convey your message. On this online video maker, you will find video templates to start with, and other powerful features (transitions, watermark, audio, colors…) to make montage magic! In a few clicks and a lot of features, users can choose a template, edit their rushes with our app, and use an online montage maker easily.
If you’re interested, feel free to ask for a demo.
Resources
