How Do I Make A Video Montage With an Online Video Editor?

Today, thanks to a video montage maker, making videos has never been easier for companies. We explain how!
Over the past twenty years, video has increasingly become the most popular marketing medium. Indeed, 95% of viewers retain video messages vs. 10% for text messages. Thus, your message will be conveyed to the right audience, with aesthetic and extraordinary visuals. However, the main obstacle for corporations was the creative abilities to create convincing and attractive videos.
Consequently, many companies outsourced video making to specialized agencies. But those agencies were very expensive, though they deliver an impeccable creative outlet to complement your marketing strategy. Many marketing professionals are afraid to be unqualified to create proper videos. They might fear their lack of creative skills, especially in video montage. Indeed, this matter has always been a knack for video professionals.
If this is your case, we have good news: you won’t need to call an agency anymore! Indeed, making your own videos no more requires special professional skills. With the right video montage maker, you will be able to create your own corporate videos. All you’ll need is to do is to know the right video montage process on this online video editor. This article will walk you through the different steps of this process.
Why should you use a video montage maker to create video online?
Before using a video montage maker, you must ask yourself why you should create videos regularly. Videos are part of your marketing strategy to attract the crowds more easily. Consequently, you must create videos with content that:
- Is better remembered,
- Arouses emotion,
- Enables you to be remembered thanks to your branding strategy,
- Elicit more interaction, especially via CTAs,
Allows you to convey a message quickly to your audience, ot to answer a question quickly.
And that’s where you need video montage.
Your creative teams are the ones who know your brand very well. Therefore, while creating your corporate videos, they will be more involved and increase their skills. Thus, you’ll avoid the inconveniences of a specialized agency, such as endless iterations, or misunderstandings about your messages and brand identity.
And above all, you’ll save time and resources. Thus, you will be able to allocate them in more strategic and/or commercial issues.
8 steps to a successful video montage with a video creator
Do you think that video montage needs specialized creative skills? Well, not anymore! Nowadays, creative teams can make their corporate videos on their own, without being a professional. A corporate video montage occurs in eight precise steps that must be followed. Once you master these steps, you’ll be able to perform your own video montages regularly.
Step #1: Prepare your video montage process
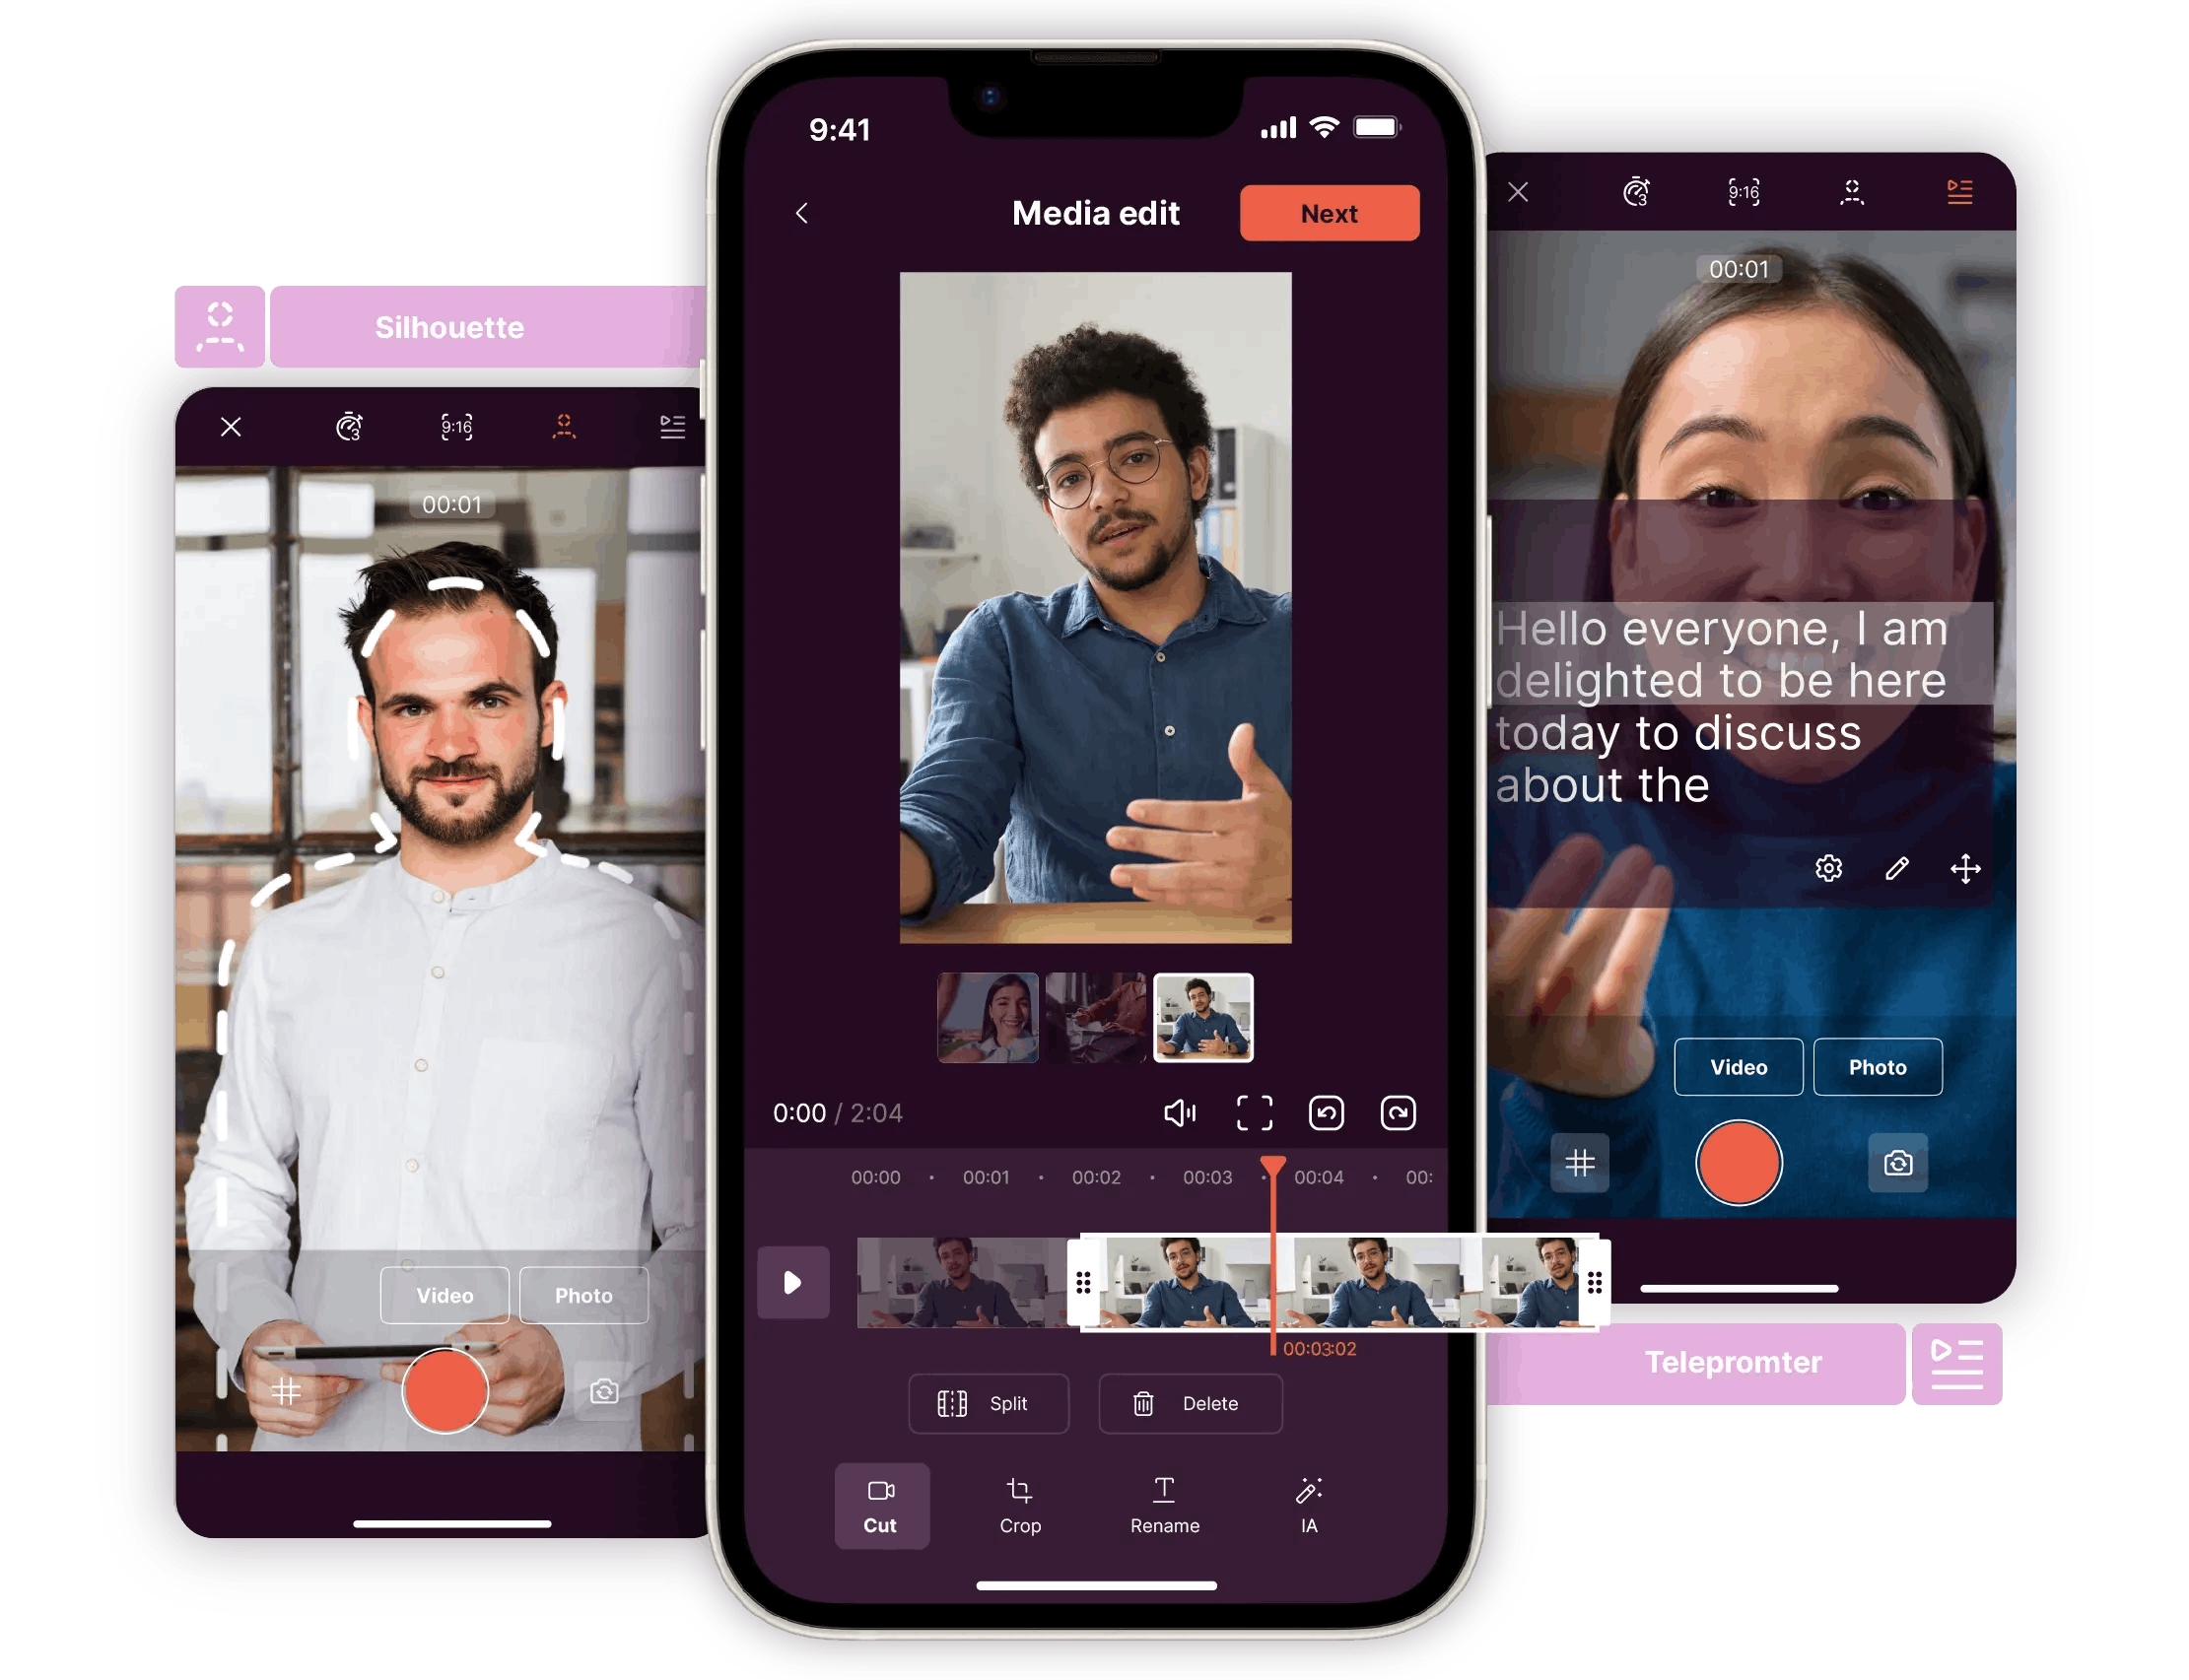
Have you filmed your rushes with your iPhone or your camera? Then, it’s the moment to move to the post-production step. During that period, you will gather all your photos and filmed sequences. Then, cut those which are irrelevant to your message. At this stage, you may also gather graphic elements that will enable your viewers to identify your brand: logo, colors, graphic charter…Thus, your video will be more dynamic and unique, while delivering the message you need.
In case you have heavy files (i.e. your rushes weight 360 to 400K), you can use proxies. They will enable you to convert your original heavy rushes into low-definition documents. However, your original rushes will be kept. The conversion process may last a few minutes to a few hours, according to the weight of your rushes. Thus, the proxies will ease the video montage process and increase the compatibility of your files with your video montage maker. This is especially useful if you want to add motion titles, effects, and transitions.
Step #2: Choose the right template on the online video editing software
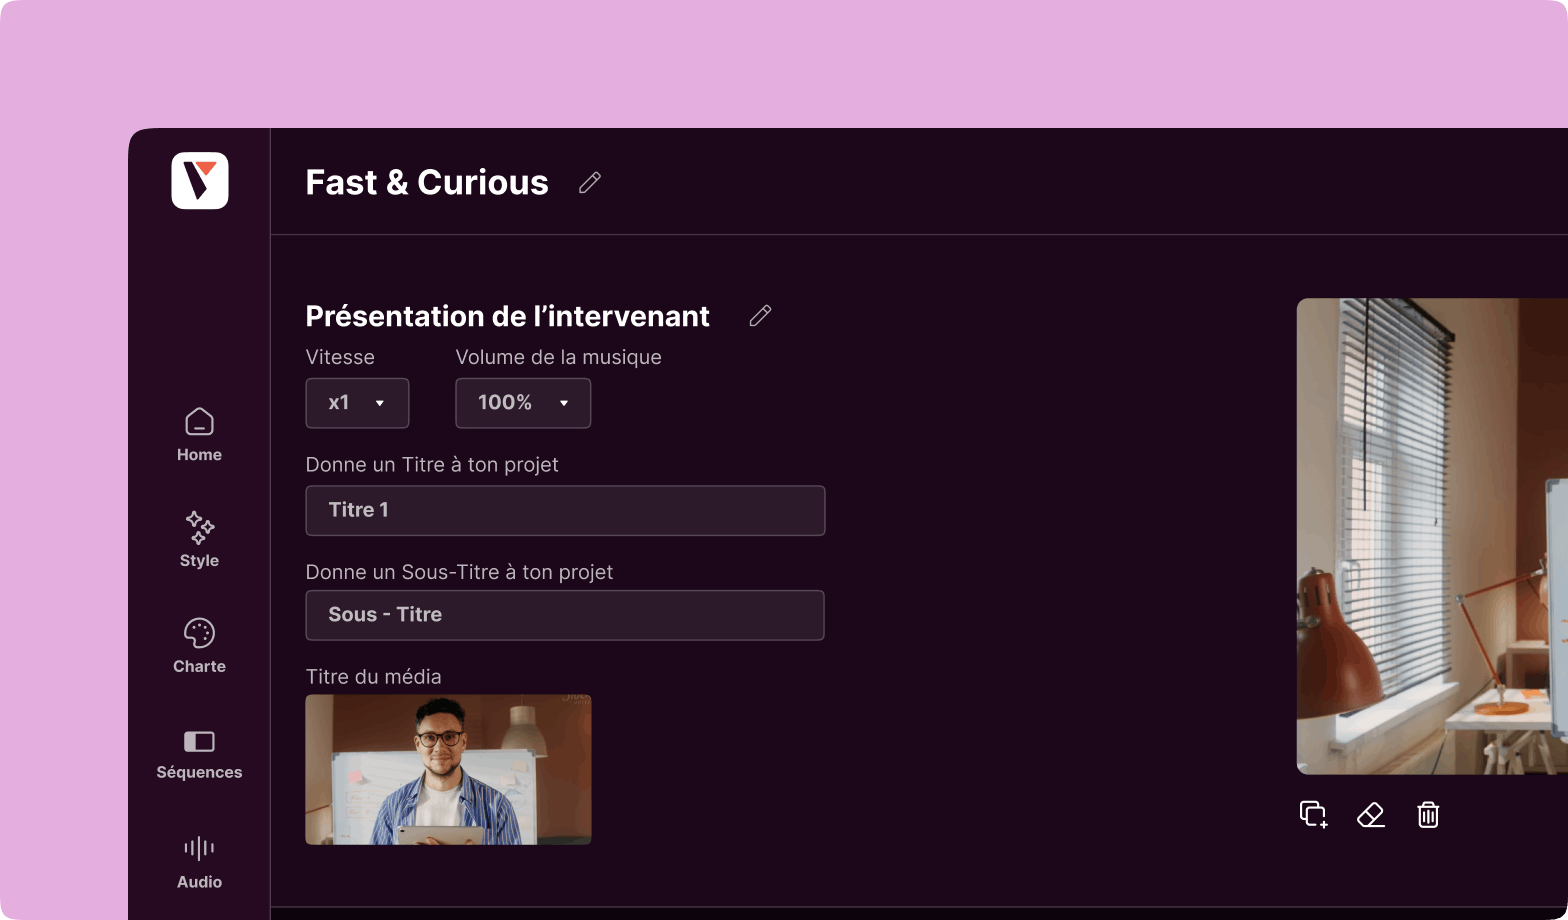
Our online video maker offers several ready-to-use video templates. They are composed with several sequences, such as:
Intros,
Questions sequences for interviews,
Timelines,
Outro screens with logos, contact information, and social media follow CTAs…
When you connect on the Pitchy software, you’ll just have to replace the filmed sequences in the template with your own rushes.
Step #3: Adjust your video in the template
Each sequence of the template lasts only a few seconds. This leaves you little room to adjust your message to the template. However, if some of your rushes are long, don’t hesitate to cut some parts with the software. Otherwise, you may use the cut parts as bloopers. Thus, the people in your video will appear more approachable to your audience. Also, bloopers will enable your company to connect with your viewers more easily.
Moreover, your transitions must be sober. Often, when you start using a video montage maker, you want to place your video within all the transitions you can find. But this will make your video inconsistent and annoying for your viewers. The best solution is to opt for seamless transitions to make your video easy to watch.
Step #4: Make the most of visuals
How does montage help to make your video more powerful? By using visuals wisely. That’s why we recommend you use motion tiles, graphics, and illustrations. They will make your videos more understandable for your audience. Also, they will guide your viewers and walk them through your message.
Step #5: Customize your template
Within Pitchy, each video template is customizable. Therefore, you may import your corporate graphic identity: color palette, graphic charter, logo, and even your font style.
Also, if you lack visuals, our online video maker can help you. Indeed, we have a media library with a selection of royalty-free photos, video sequences and even filmed rushes at your disposal. You can also include text to highlight the key ideas of your video.
Step #6: Add subtitles
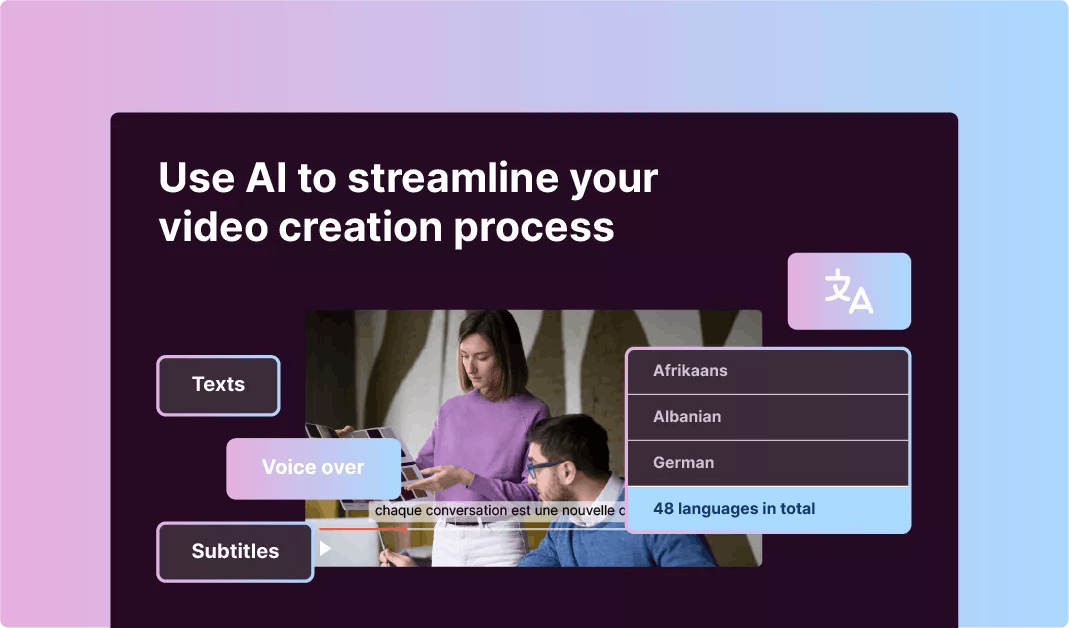
Don’t forget to include subtitles in your video through our video montage maker. Indeed, this step will enable your viewers to view the video without the sound, especially if they are disabled. Also, if you target an international audience, subtitles will help you to reach them more easily in their own language. You may include these subtitles with our online video editor if need be.
Step #7: Use music wisely
By adding a soundtrack to your video, you add an entirely new dimension to it. That’s why it is an essential step to your video montage. Our video montage maker enables you to integrate royalty-free music in your video. You can choose your musical style in our music library, according to your taste and the message of your video. We offer different playlists, such as rock, hip-hop, funk, or electro.
Step #8: Share your video with the world
Once your video montage is over, feel free to share the final cut of your video. First, you can share it with the other members of your creative teams to get some feedback. Afterwards, download it and share it on your many communication channels. These channels include: your social media pages, your streaming channels, your website, digital ads, and other digital destinations.
Ready to use our video montage maker? Contact us!
Do you want to carry out your first video montage? Then, Pitchy is your best ally. Our video maker contains powerful features (video templates, audio effects, photo montage, timeline, watermark, and a lot of features to boost your creativity…) and effects to help you reach your promotional and communication goals. Our multiple templates, photos, rushes, and music libraries are available to satisfy all your needs If you are interested in our software, feel free to ask for a demo.
Resources
