Video Presentation: make a storyboard

Here, we are not talking directly about video editing, but about storyboarding, to be done before your video presentation.
Here, we are not talking directly about video editing, but about storyboarding, to be done before your video presentation.
Before you start creating any marketing video for users, it is important to know what you are going to say in it, and what you want to show to the audience, either you are located in London or Paris or anywhere else. This is the distinction between the script and the storyboard. The former is a written document containing all the information needed to make your video presentation. On the other hand, when we talk about a storyboard, we are talking about putting the video into images and animations (the term literally means “story board”). You will therefore have to develop the storyline of your video, just like a comic strip, to present it to your teams and share your vision with them. It’s much better than a slide of a powerpoint!
Check out our new blog post to help you step by step, scene by scene, before you start the production of your video clips. Here is some info and tips to make a good storyboard animation. But first, a few definitions are in order.
What exactly is a video presentation?
This is also considered a narrative corporate film, except that you are not talking about your company (or brand), but about what you are selling for shopping (so it is more like an advertising spot). Note that the conversion rate of sales sites using graphic or video is on average twice as high as others. Making an effective product presentation video means producing a short, rhythmic format, in which the product is of course shown through visuals, but also its many features. You will be able to integrate photos and music. The point is to show the benefits to sceptical prospects, to prove to them that your product, your new collection or your service will make their lives easier.
Here is an example, made with the Pitchy solution, with an awesome frame:
What are the concrete advantages of storyboarding before video creation?
Clarity: as we said above, making a storyboard means putting your vision into narration and images, making it visual, moving from theory to practice. It is often difficult to get your ideas across simply by gestures and words: with a support and images presented in the form of a table, you can visualise things, see what they will look like on video.
A vision, a course on a single document. Once this storyboard has been assimilated by your teams, no one will get lost: from now on, everyone knows that there is only one step to follow, one narration.
Cut the video into several scenes: this step will allow you to see if the cut is coherent, if the sequence of scenes or interventions is not likely to cause problems (comprehension problems, shooting problems, background, audio, voiceovers and recordings issues, certain scenes may require additional resources, etc.). Your storyboard should help you during the shooting: it will be your “instructions”, your roadmap.
What is certain is that the storyboard is a real time-saver for everyone, to take into account the constraints of production and budget 😉
On which media should a storyboard be produced?
There are two schools of thought, two techniques for success for your video clips: paper or digital media. For the latter, there are software programs, the best known of which is Canva, which allows you to create pre-formatted storyboards on the platform. You can then do all the design online, and modify it if necessary, because the storyboard is a draft: you must then make a final version and not deviate from it, at the risk of confusing internal communication on the project.
If you are not very comfortable with Canva, you can stay on powerpoint, to go faster.
Write a script, as complete as possible
This is the other name given to the script: in short, it is the written text document that will summarise everything that will happen in your video:
- the topic,
- introduction, narration,
- timeline,
- the shots, the angles, slide by slide,
- transitions,
- audio, voice,
- dialogue,
- any information about characters,
- sketches,
- details,
- cuts,
- background,
- other options and elements.
You don’t need extraordinary drawing skills for a simple storyboard! Drawing a storyboard frame is easy! What do you want to tell? What are your most important messages to remember about your novelty? What will happen in your story? What do you want to sell through this audiovisual creation? What can of voice do you want people to hear? Based on this text, you can then divide your video into several sequences, your story into short scenes.
Design the “railway” of your storyboard
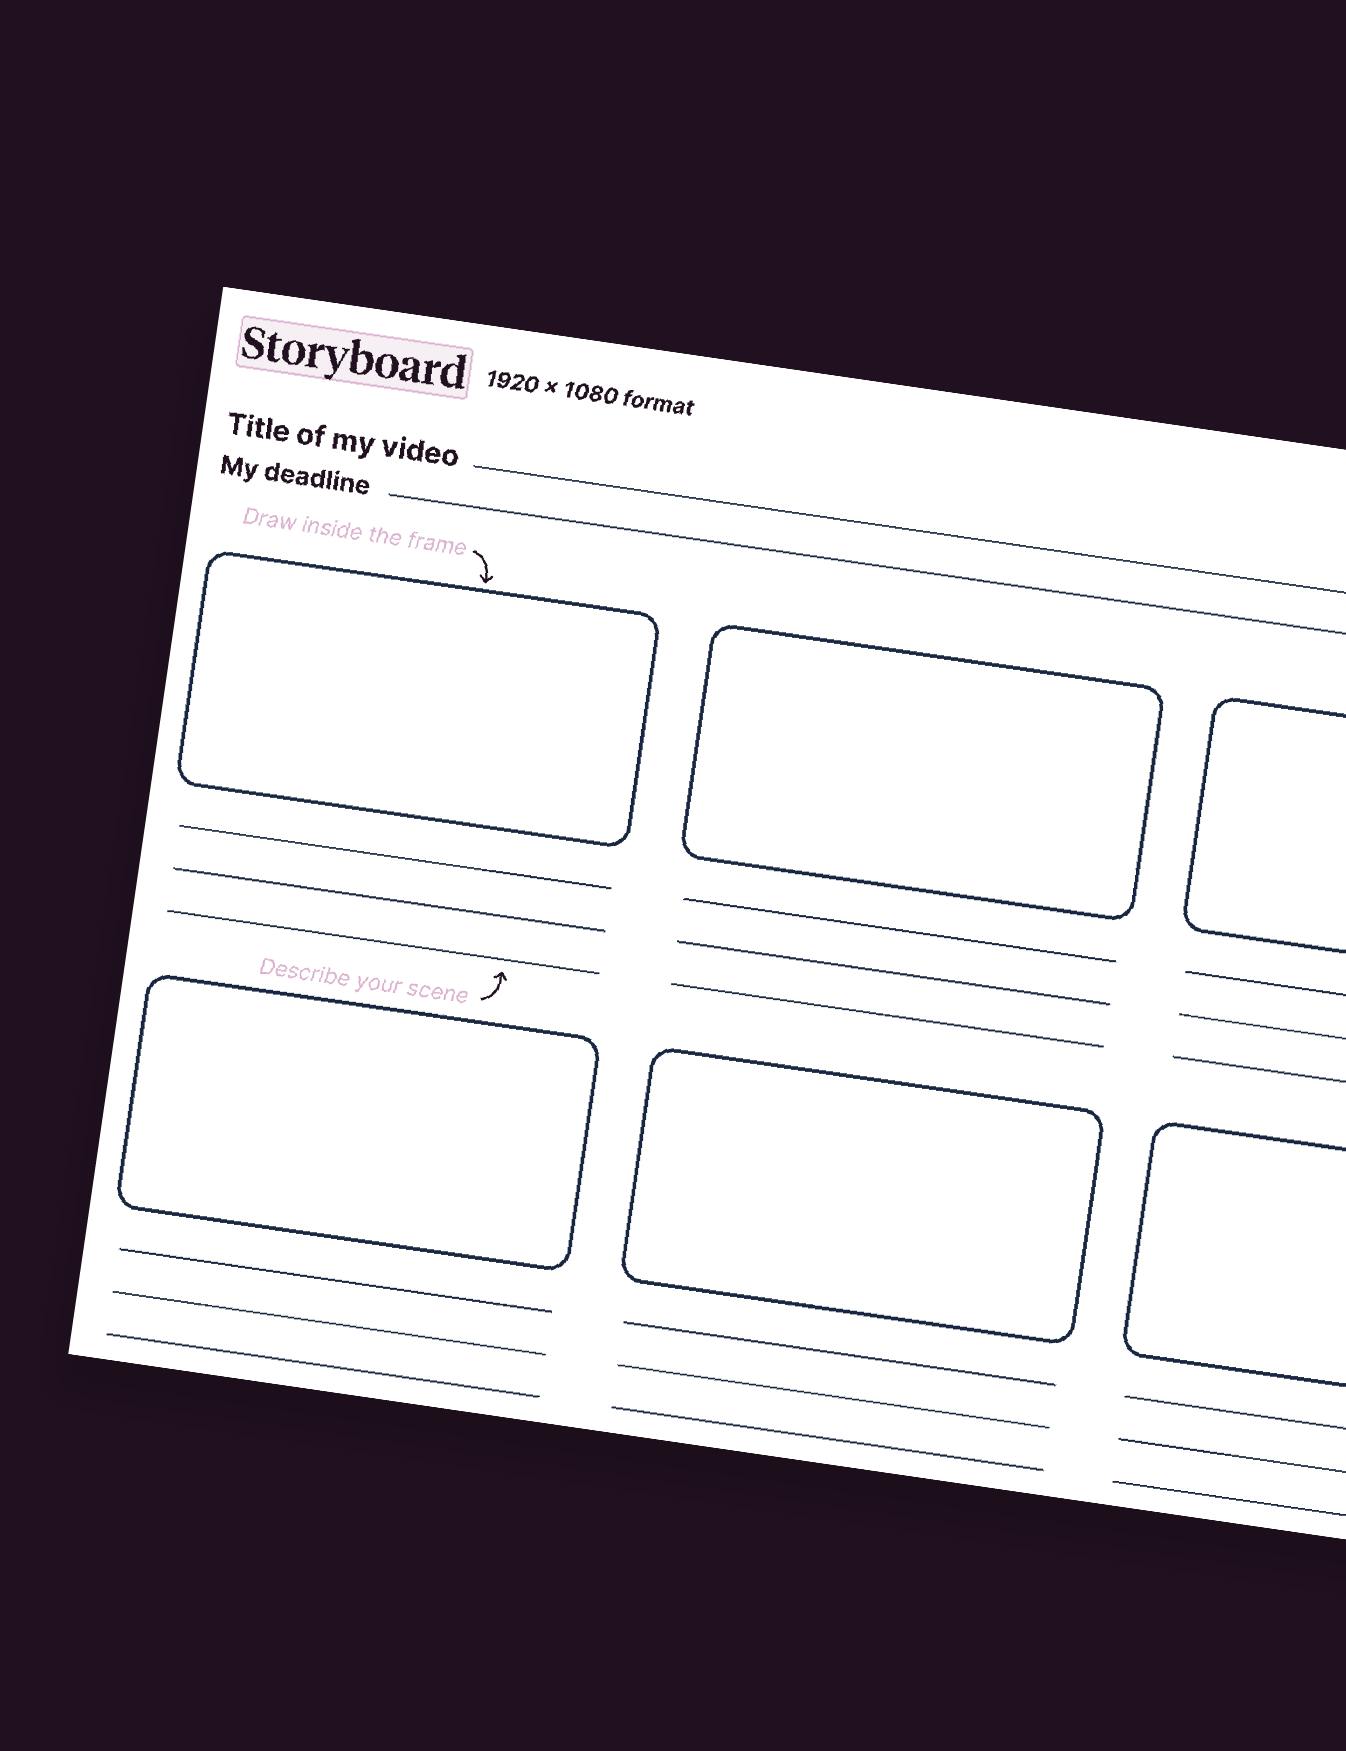
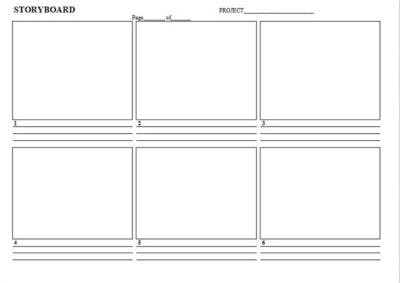
The layout of the storyboard is called a railway, with boxes representing the images, your different scenes or sequences, and lines of text on which you can add all your annotations and transitions. It is called a “railway track” because it is the route to follow for your video, its linear development, slide by slide.
Cut your video into short sequences
You can think of them as small scenes in your film that will introduce the product. Each scene will have several shots.
In your railway: 1 shot = 1 box = 1 idea.
For example:
Plan 2 view: front view
Plan 3: key words highlighted next to the product to emphasise its innovative functions
etc.
Finally, drawing the scenes directly into the storyboard’s railroad boxes, with attention to detail
Once you have laid out the storyboard, then cut your story into several sequences, draw the scenes directly into the boxes provided for this purpose. If it is a product presentation, think, for example, of drawing the possible rotation of the product in front of the camera. By drawing, you will see if the sequence of scenes is coherent and understandable for the viewers of your video clips.
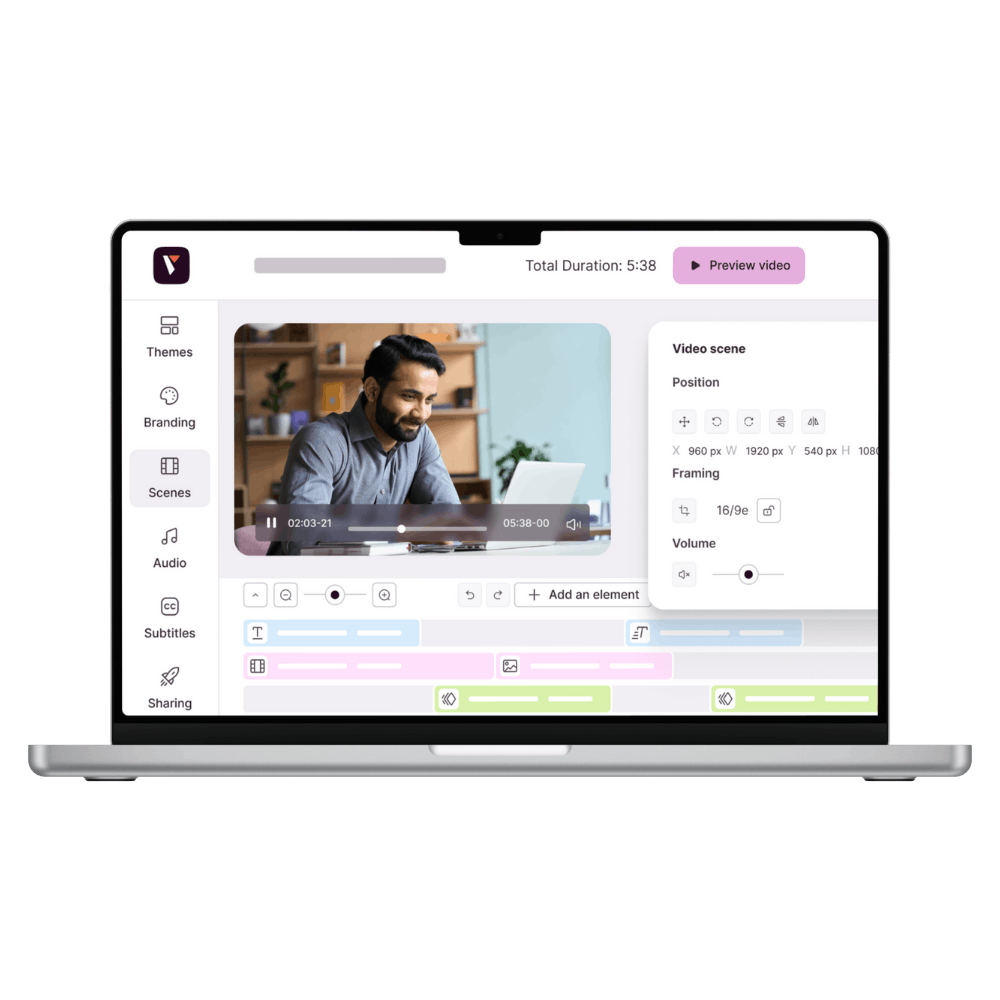
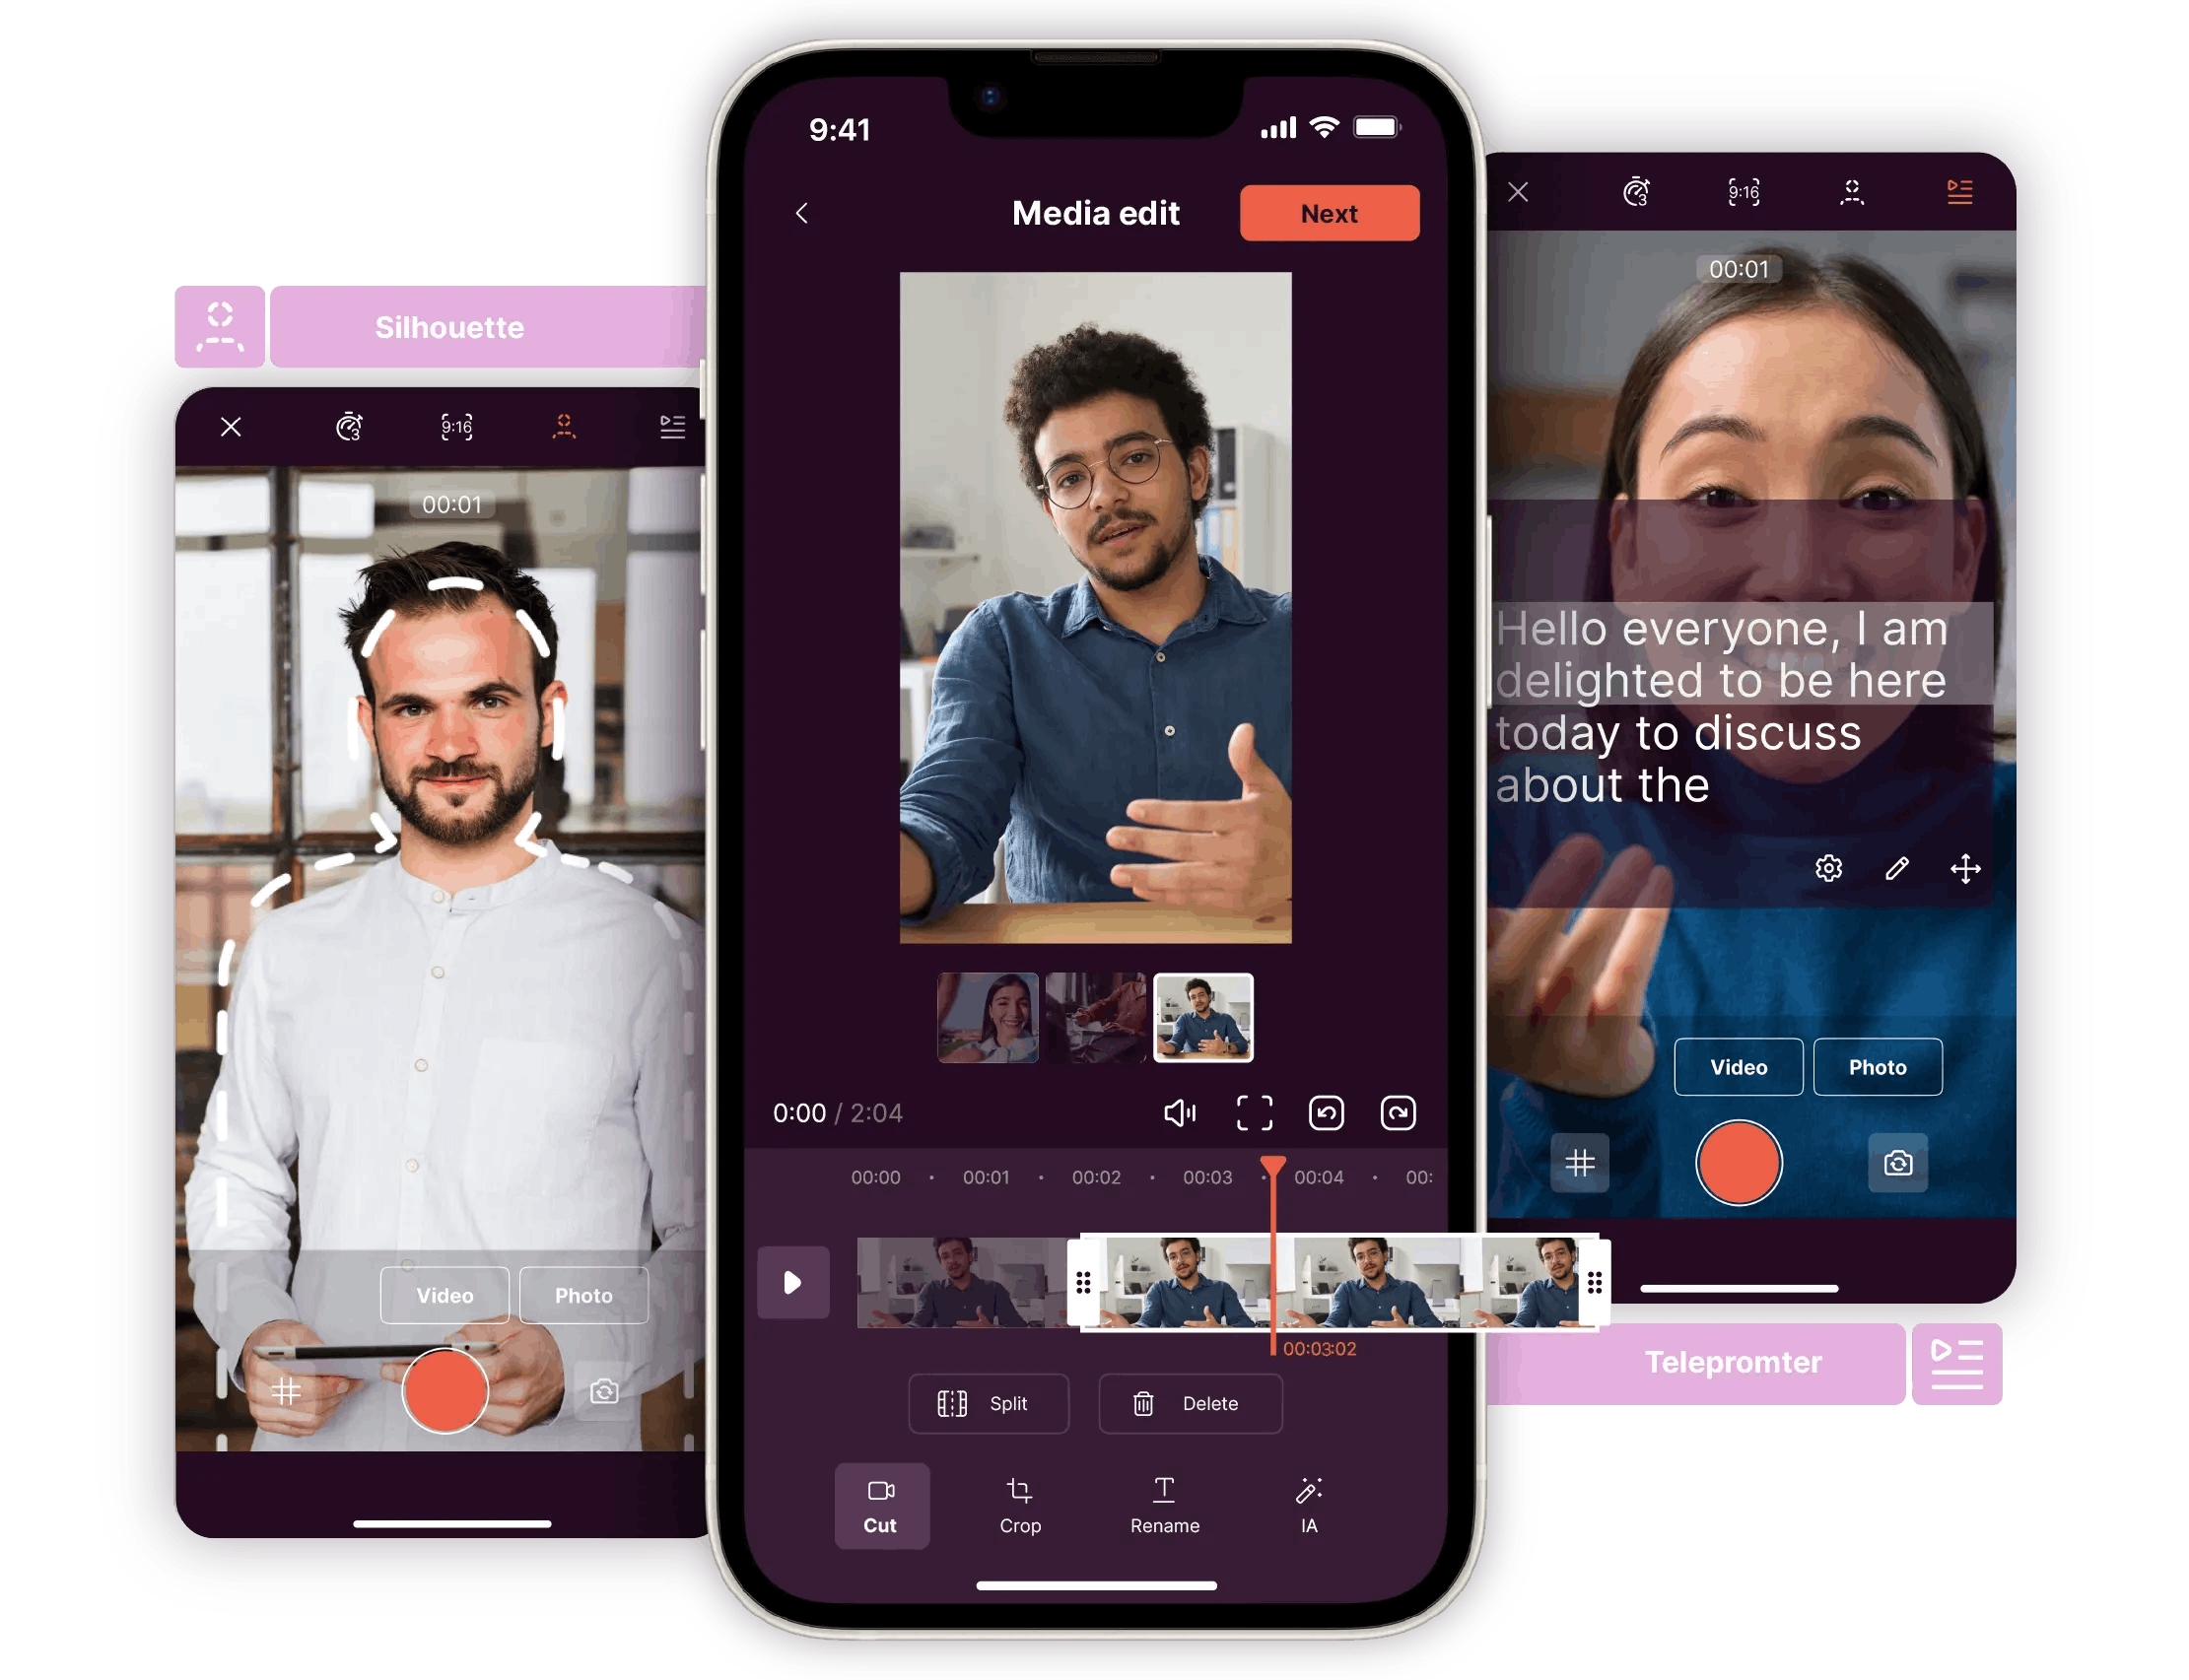
Would you like to have our feedback about storyboard? Would like to see a storyboard example? Making your own storyboard for your corporate videos is easy, for you and your colleagues, on the Pitchy platform. With our tools, you can create a narrative process (depending on the subject of your video and the profile of the average viewer), where each square represents a different rush or scene of your video. And you don’t need specific technical skills for this! You will be able to choose a pre designed template, and take notes directly on the platform?
Templates (good templates), drad-and-drop feature, professional fonts… all is available on Pitchy to make a great presentation , or tutorials, or any video for youtube.
Resources
