A Beginner’s Guide to Online Video Editing
Online video editing is easy, once you use a video editor designed for beginners. We will take you through it step by step to edit your video online.([]
Today, online video editing has become very easy for companies. They no longer need to call on video agencies to set up their own projects. Thanks to an editing tool designed for beginners, any team can produce a video in just a few minutes.
In this article, we explain step-by-step how to quickly use this video editing tool. efficiently. Create videos in less time with a video editor!
And do not hesitate to read more articles about corporate videos on our blog.
Step #1: Choose a template on the online video editor
When you arrive at the online video editing tool, it offers you a vast choice of video templates. These video templates are already pre-designed, so that novice videographers already have a base, ready-made video content, which they can then modify as they see fit.
You just have to click on the button “See all templates”.
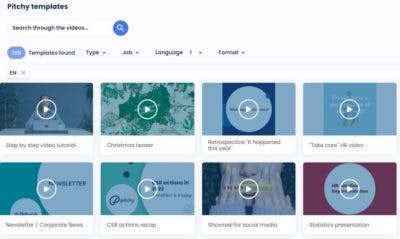
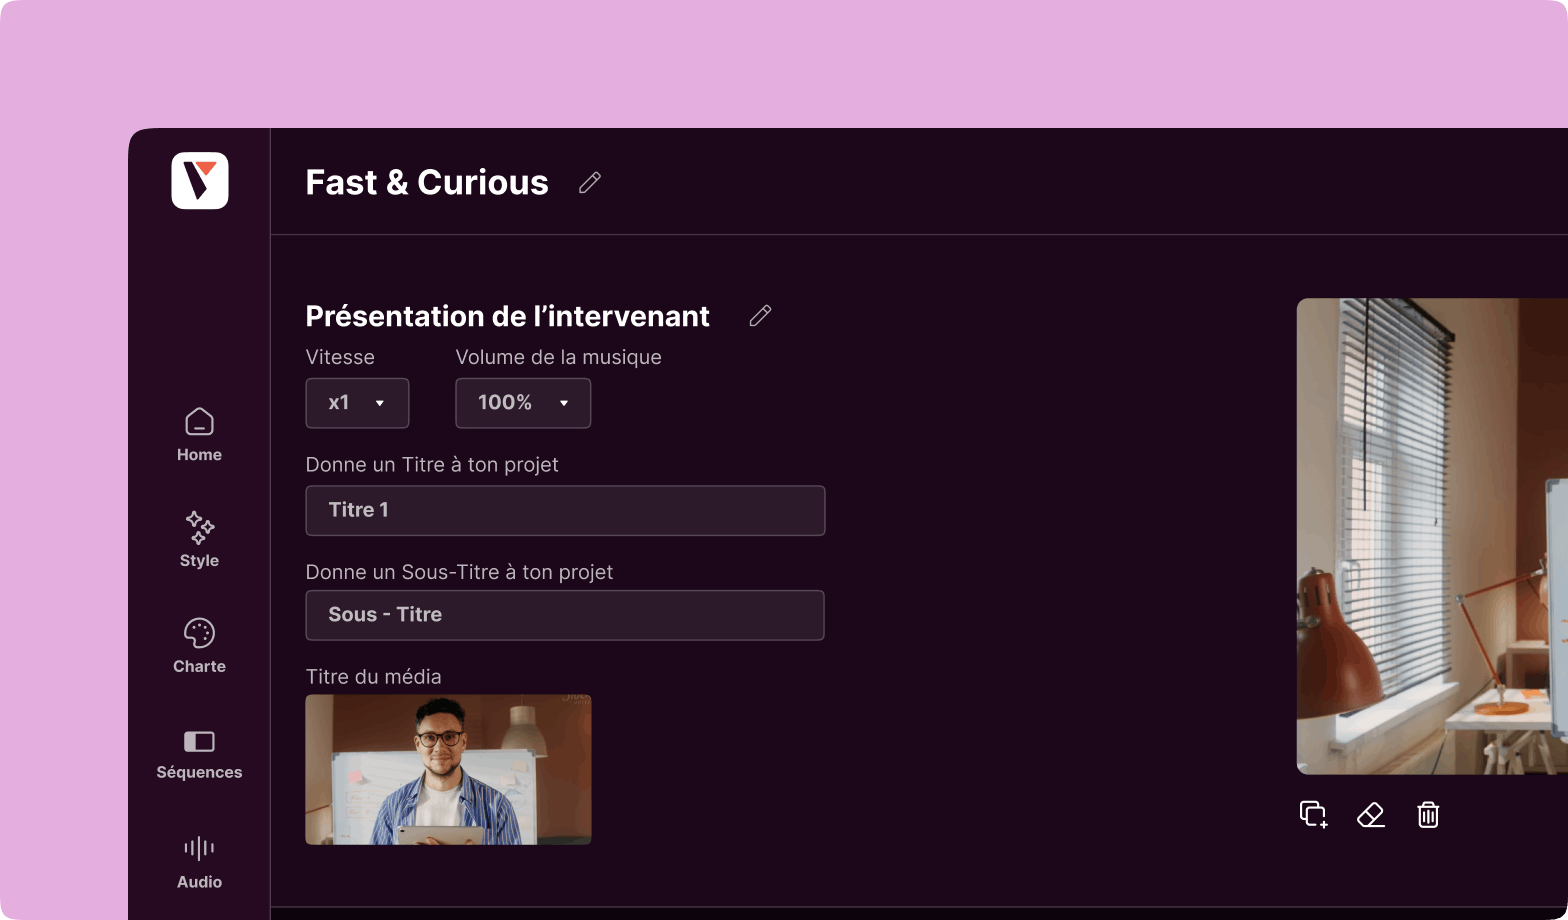
Once you’ve chosen a template and clicked on the orange “Copy and edit” button, you’ll see that each template is made up of several sequences: an intro, a title sequence for question 1, a filmed rush sequence for question 2, etc. Knowing the chronological sequence of these sequences is important. Even if you can modify it as you wish, understand that a template = several sequences, and that each sequence corresponds to a stage in the video.
Step #2: Edit your video rushes online
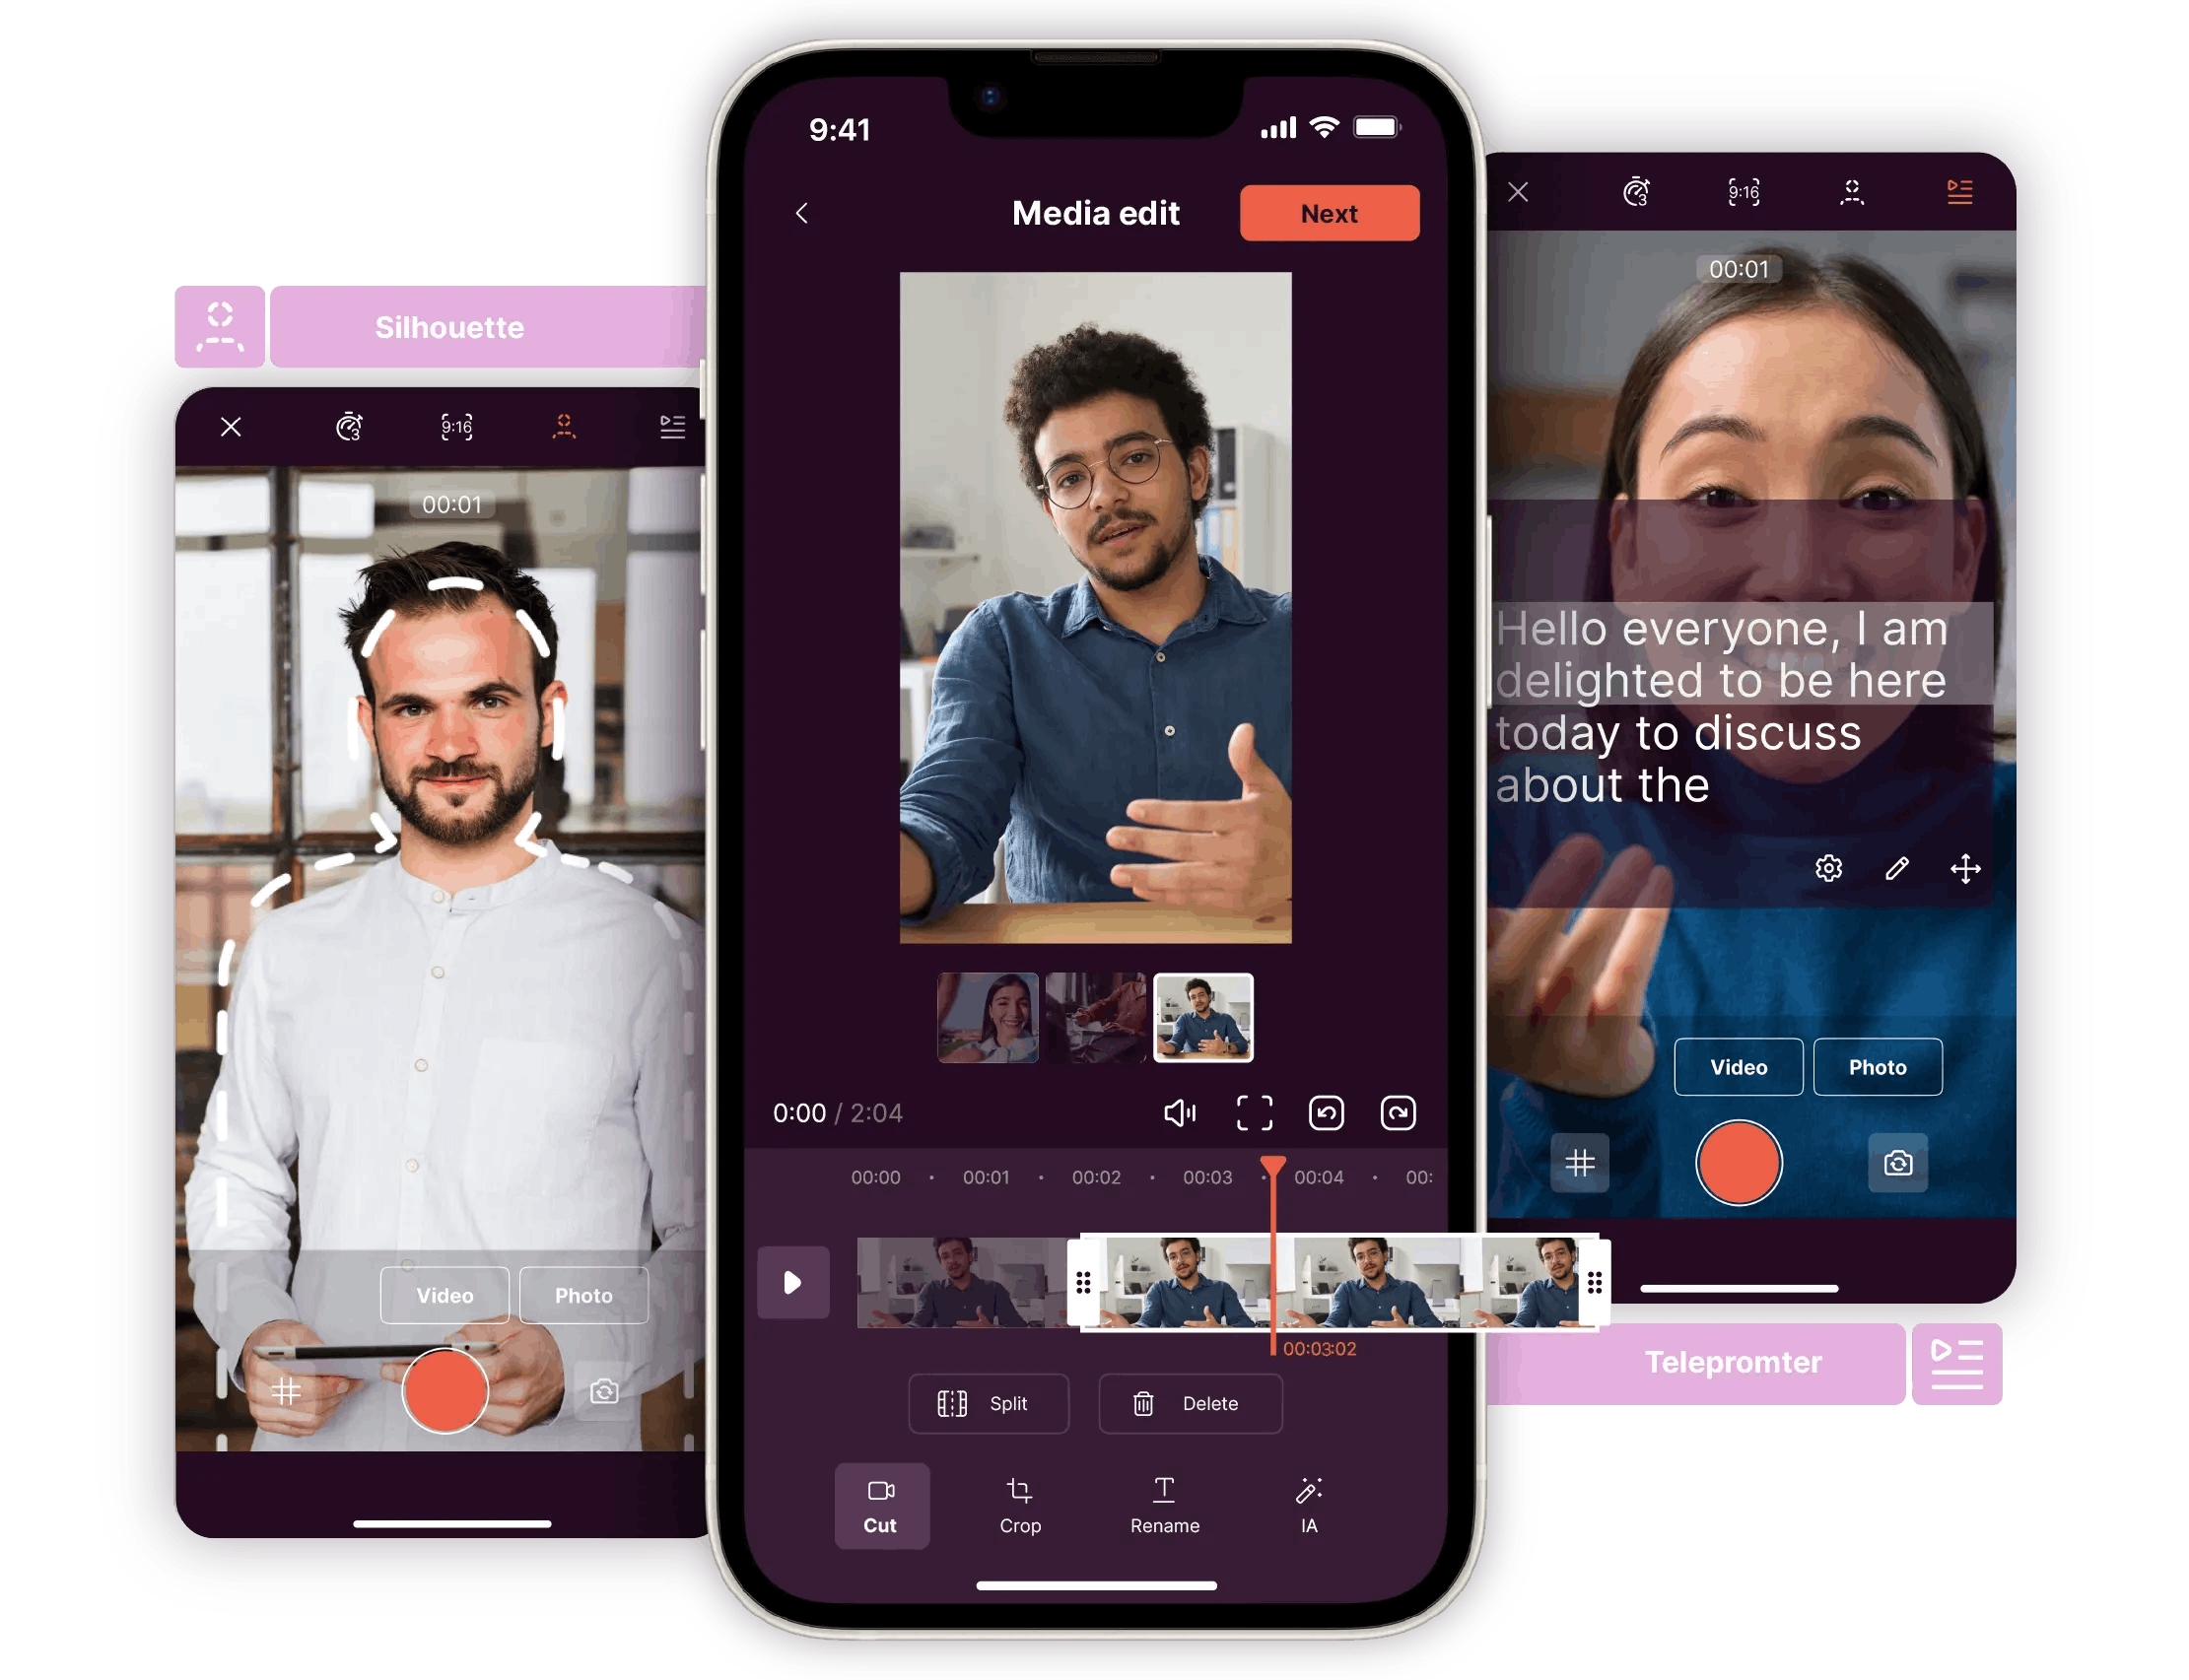
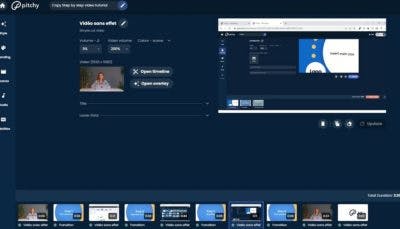
If you click on the “Open timeline” button, you will have access to the timeline proposed for this template, i.e. the sequence of filmed rushes. In the image below, these are the rushes proposed for the template in question. But do not forget that you can import the video file (what you filmed with your smartphone) directly onto the platform. Click on the “Video” icon at the bottom left, and you’ll come to an “Import a video” tab, where you can drag and drop a video file from your computer.
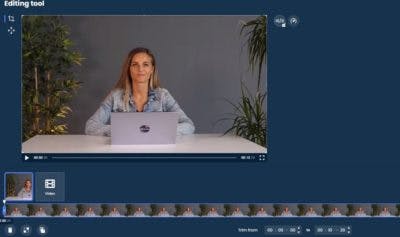
What does editing your video rushes actually mean? Well, it means that on the timeline, you can cut out the moments that you do not like (for example, messed-up takes, people stammering…), or place them at another moment in your video, to get a clean result.
Step #3: Choose a graphic style for your online video editing
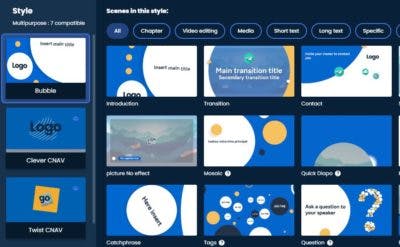
For each template you choose, you can select a graphic style and an animation sequence suggested by the online video editing tool. These graphic styles have been created by the motion design team, inspired by current trends.
Step #4: Brand the video you edit online
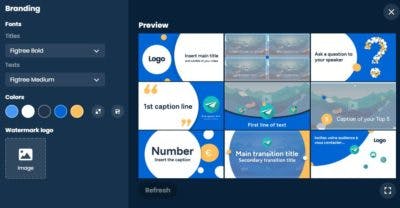
Note that each of these styles can be customised: you can adapt them to your graphic charter, by adding your text font, logo or any other visual element that identifies your brand. Titles, text, colours, watermark logo: do not hesitate to customise your videos!
Step #5: Add text and subtitles to the video you edit online
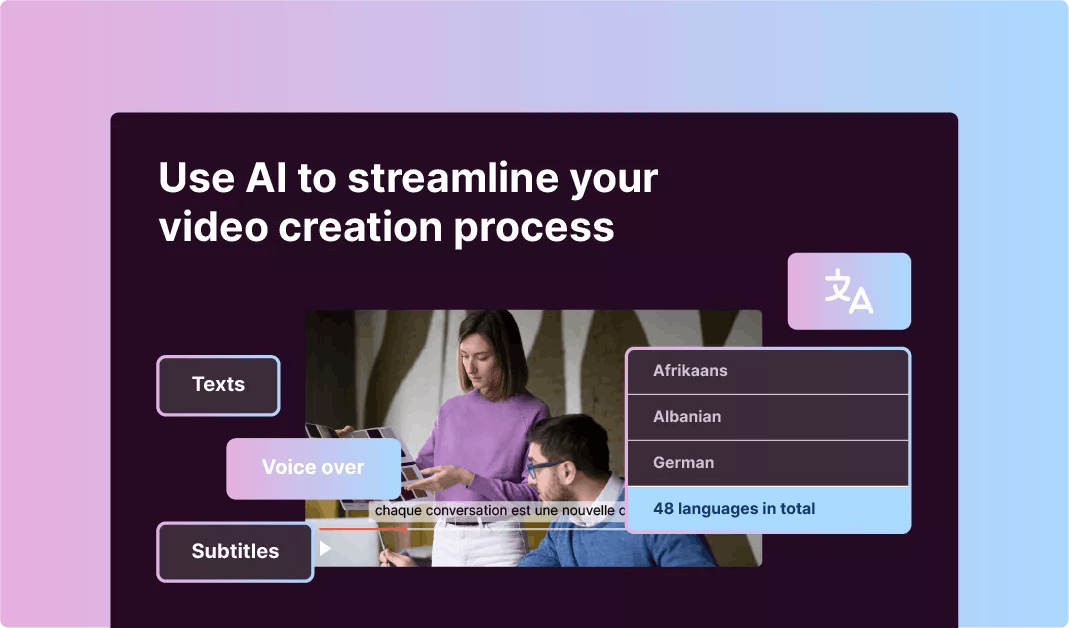
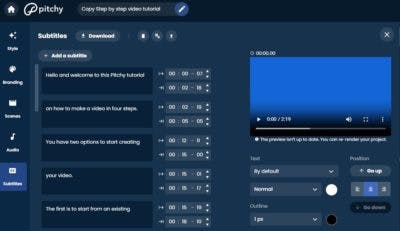
Why is it important to add subtitles to your video? Because if you post it on social networks, like the vast majority of videos posted, there is a risk that it will be viewed without sound. It would be too bad if your message was not understood.
On Pitchy, everything is already preconceived: subtitles are already provided for each scene (for example, intro subtitles when the person introduces themselves “Hello, my name is…”). And you can type your text directly into the tool to generate your subtitles.
Add images to edit your video online easily
Pitchy offers you a library of royalty-free media. If you don’t yet have your visuals, and you need them to add to your video (whether static visuals or video rushes), don’t hesitate to use this library.
Add audio effects and music to the video you are editing online
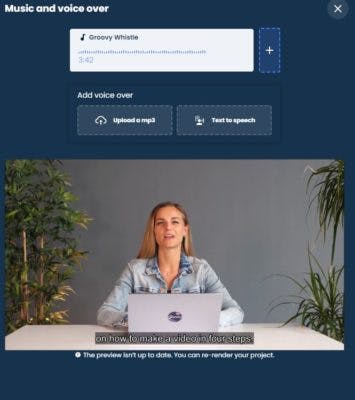
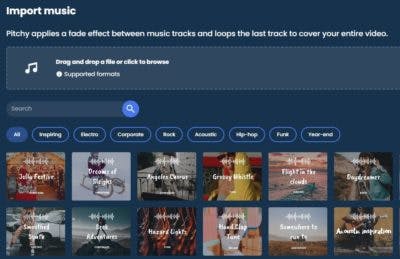
Music is another opportunity to add dynamism to your video, and above all, to have a sound identity, to be recognised thanks to the music you include in your videos. On Pitchy, you can add your own music track by importing it into the tool, or you can choose music from among the royalty-free tracks offered by the tool.
Watch this video for a step-by-step tutorial:
Make amazing videos with Pitchy! It’s a simple interface for professionals, a video editing software that allows you to make perfect videos for youtube, twitter, Tiktok, Facebook, Instagram… Our tool offers a large choice of templates, and a wide selection of transitions, compared to other video editors. Pitchy also offers a media library, and more tools for your project. Make all the video formats you want (tutorials for learning, videos to show your product’s features, clients’ testimonies to get their feedback…). Discover more features!
Resources
